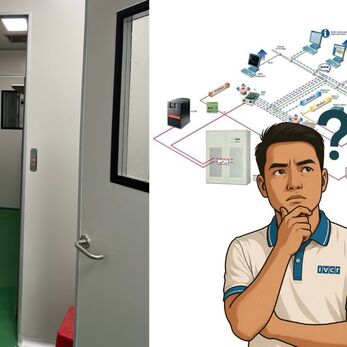
Cleanroom door interlocks, also known as airlocks, serve as crucial safeguards within cleanroom environments. They prevent the simultaneous opening of multiple doors, mitigating the risk of contamination and maintaining airtightness.
Summaries
Before embarking on installation, careful consideration of several key elements ensures optimal functionality and a successful implementation process.
I. Understanding the Cleanroom Door Interlock Components
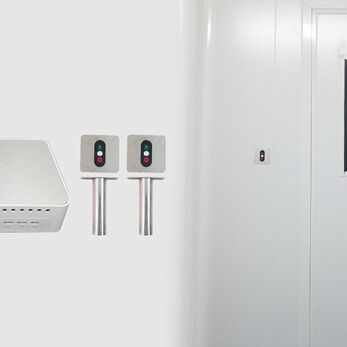
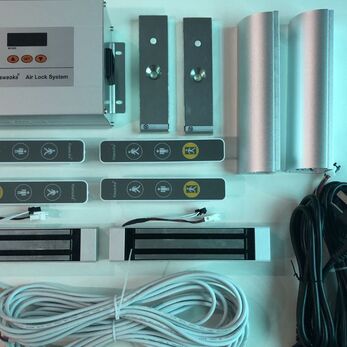
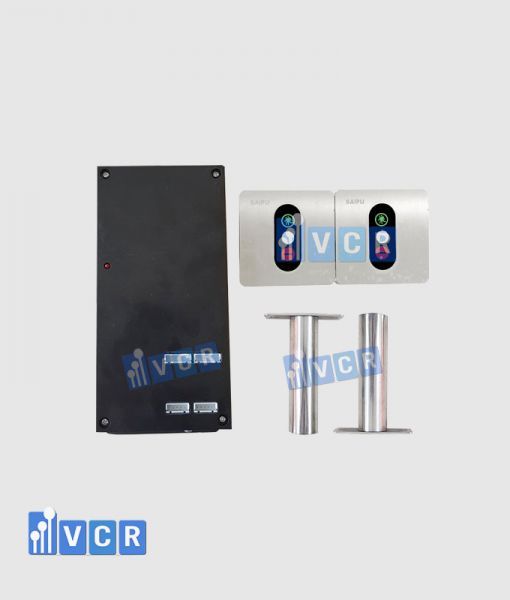
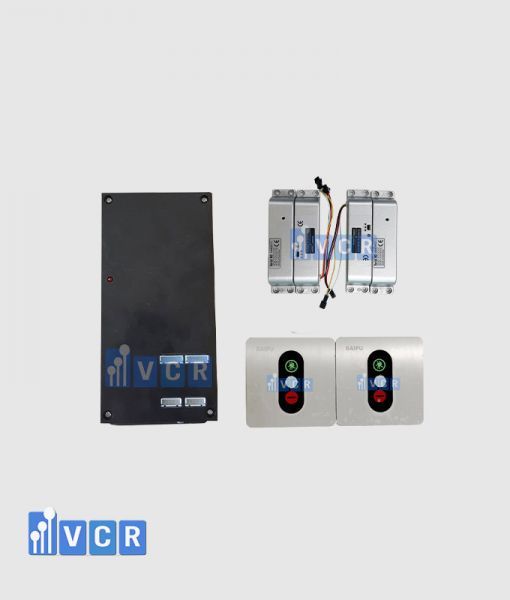
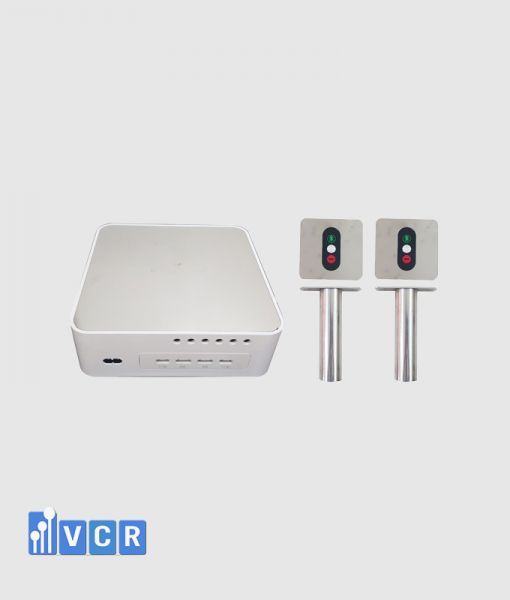
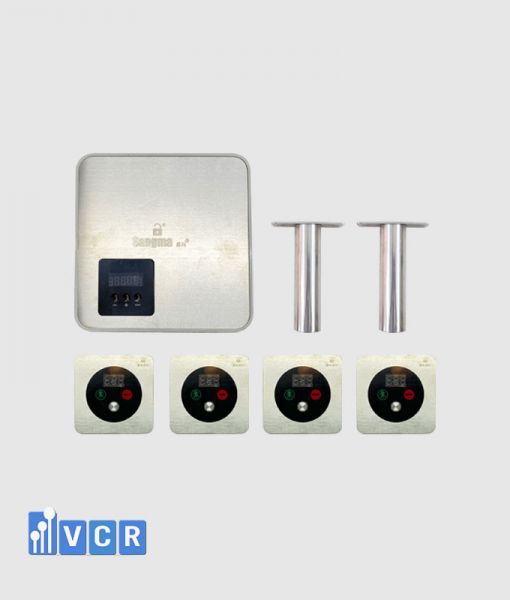
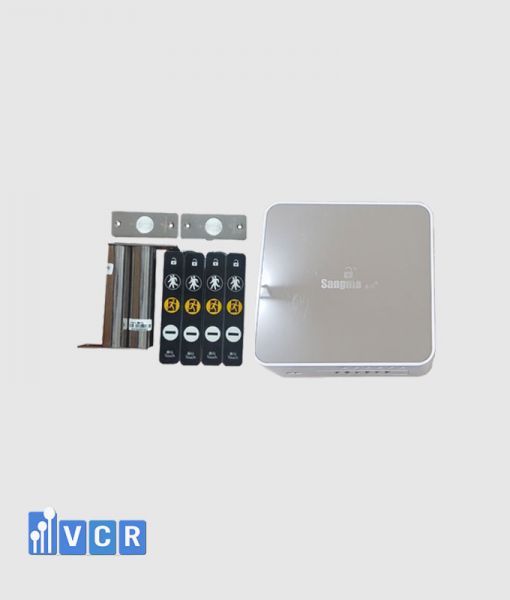
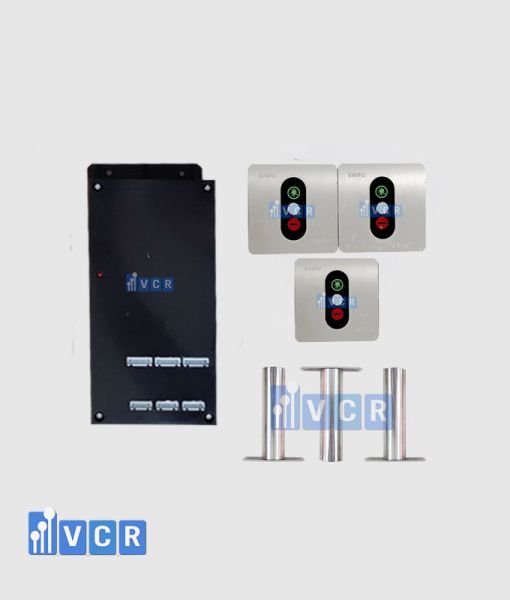
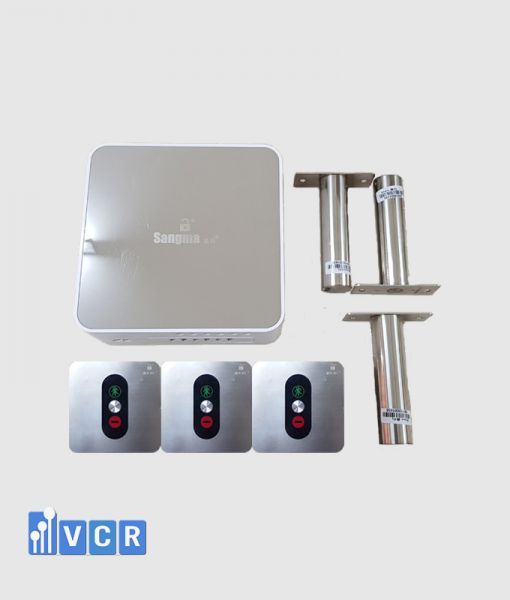
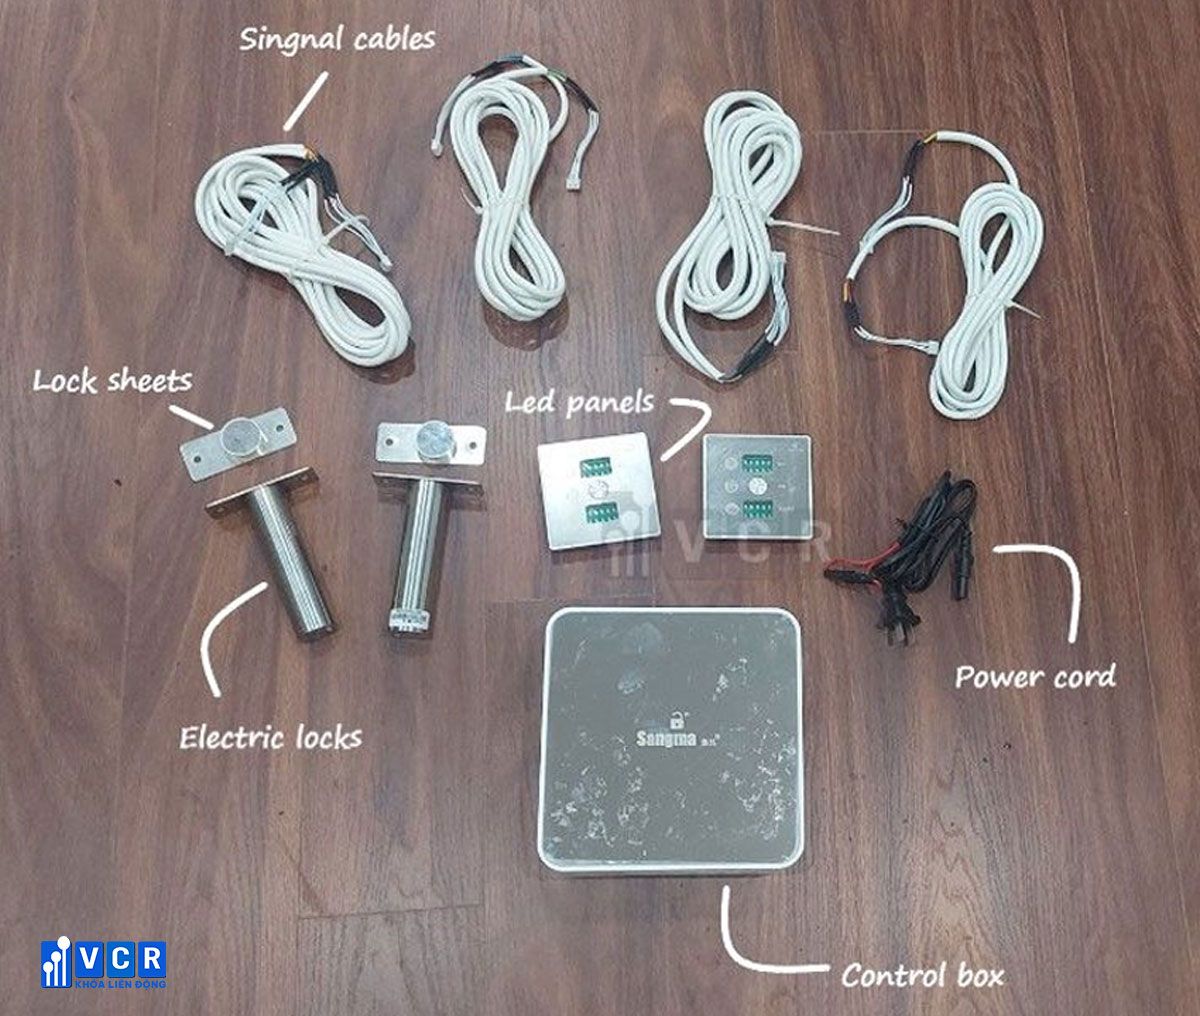
A typical cleanroom door interlock system comprises the following elements:
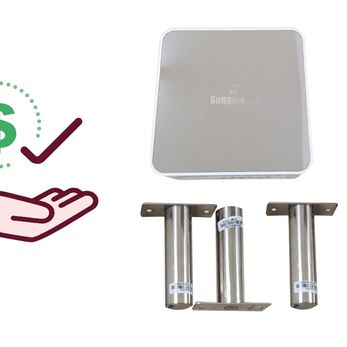
- Control Panel: This central unit manages the system's operation, with the number of connection ports and the power jack varying depending on the number of doors (2 ports and 1 jack for a two-door system, 3 ports and 1 jack for a three-door system, and so forth).
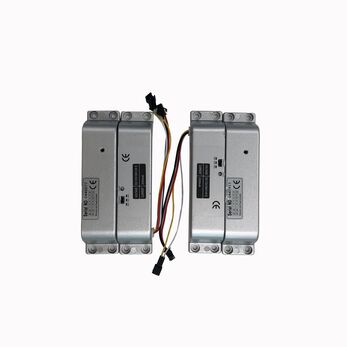
- Electric Locks: The number of electric locks corresponds to the number of doors in the system (two for a two-door system, three for a three-door system, and so on).
- LED Indicators: These visual indicators, equal in number to the electric locks, display the current door status (open/closed).
- Door Magnet Wire and Signal Cables: These cables connect the various components and transmit signals within the system.
See more: 2-Door Interlock Systems
II. Installation Requirements
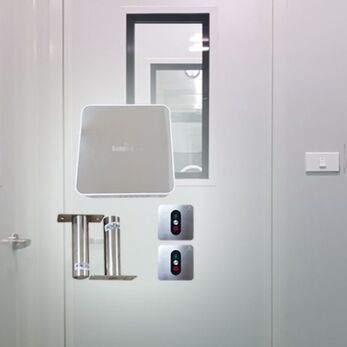
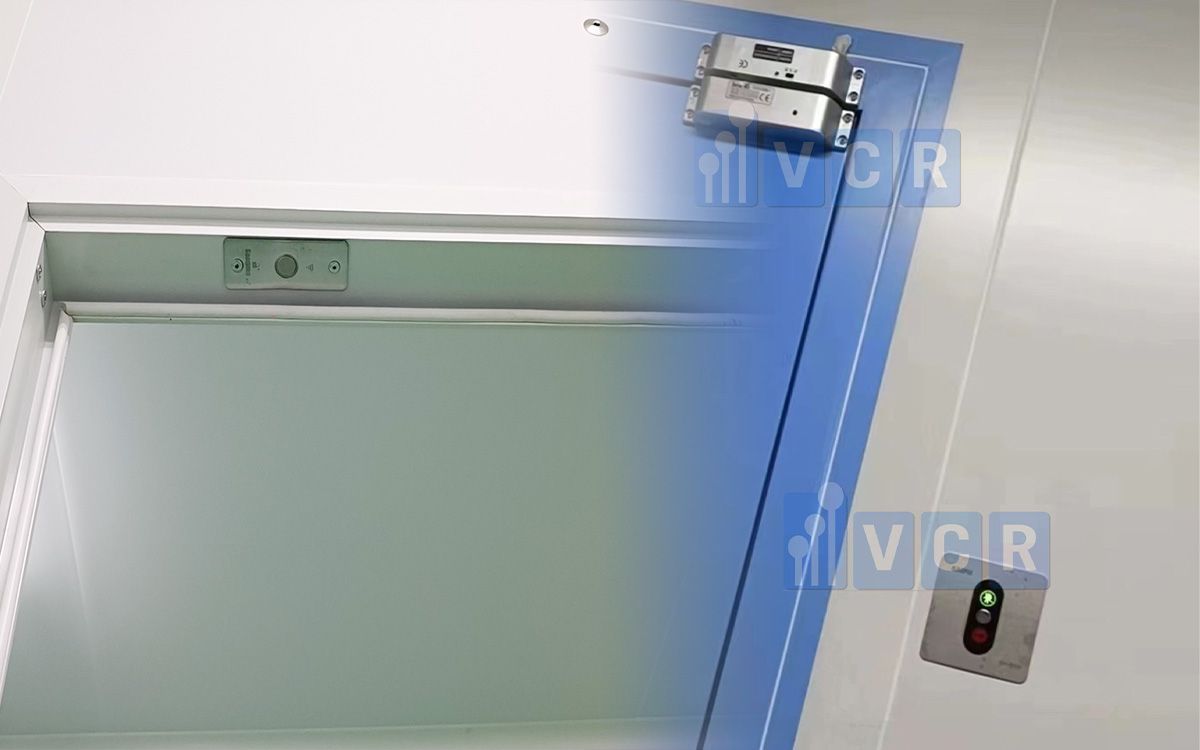
1. Mounting Locations:
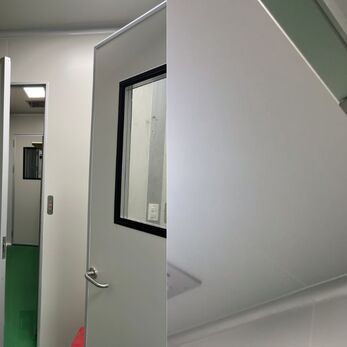
- Standard Installation: Interlock systems are typically mounted on both the wall and door.
- Wall Mounting: Installation requires drilling holes in the wall to accommodate the signal wires connecting the LED indicators and electric locks.
- Door Mounting: The positioning accessory is installed on the side edge of the door, aligning with the corresponding electric lock.
2. Adapting to Diverse Environments:
- Alternative Mounting: In scenarios involving brick walls or plastic doors, the locking pin and positioning accessory can be mounted at the top of the door for easier installation.
- LED Indicator Placement: If space limitations prevent installing LED indicators on either side of the door, they can be mounted at the top. However, this placement might impede access to the reset button, necessitating careful planning by construction personnel.

See more: Buffer room and its applications in clean room
III. Avoiding Common Installation Errors
- Secure Cable Connections: Ensure tight connections between signal cables and the electric lock and LED indicator. Loose connections can trigger continuous alarm sounds.
- Directional Alignment: Verify that the electric lock and positioning accessory are installed with the same orientation (indicated by a "Wi-Fi symbol") on both sides. Improper alignment can render the electric lock inoperable.
- Signal Cable Compatibility: Be mindful of the difference in size between the door magnet wire and the signal cable connecting the electric lock and LED indicator. Forced installation can lead to damage and impede functionality.
- Signal Wire Protection: Utilize boxes or wiring pipes to shield signal wires on the ceiling from insect damage. Unlike door magnet wires, these wires are difficult to repair when broken or damaged.
See more: Cleanroom Interlock System Installation
By carefully considering these essential pre-installation factors, individuals can ensure a smooth and successful installation process for their cleanroom door interlock system, ultimately contributing to a controlled and sterile cleanroom environment.