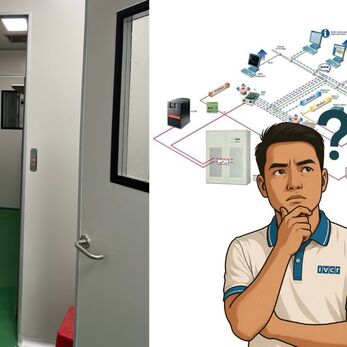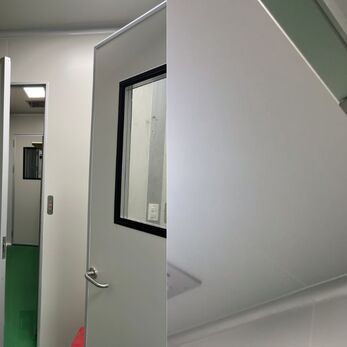
Cleanroom interlock systems play a critical role in maintaining the sterile and controlled environment within cleanrooms. While many users understand their importance, understanding their installation process can be challenging.
This guide unveils the wiring diagram and provides a step-by-step installation guide for cleanroom interlock systems.
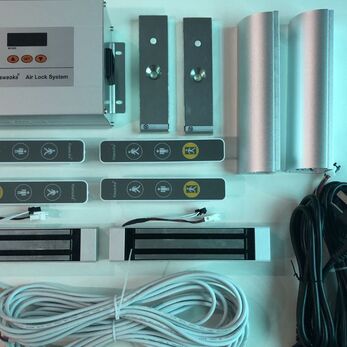
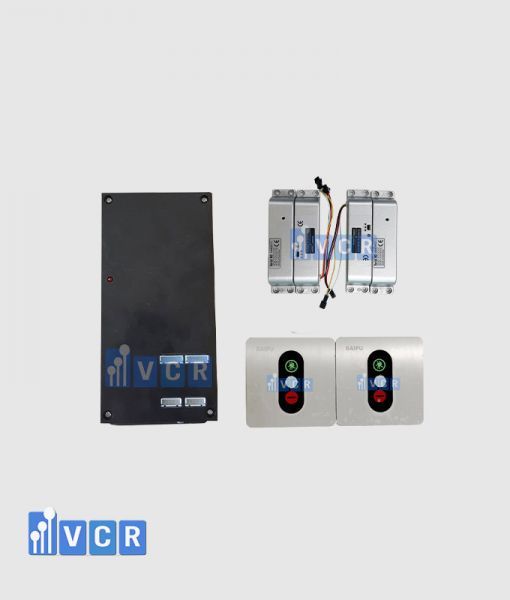
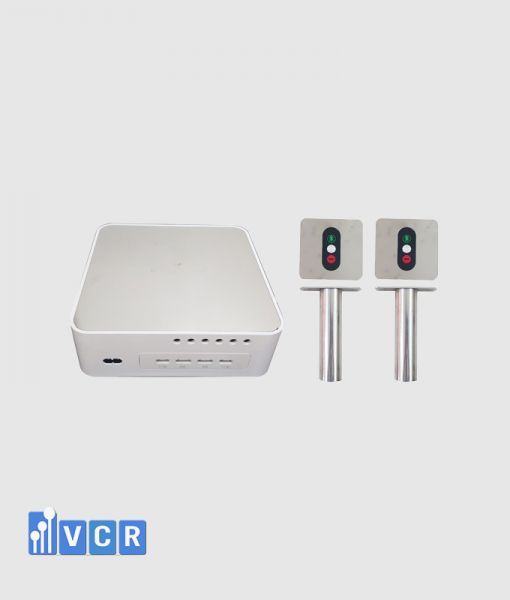
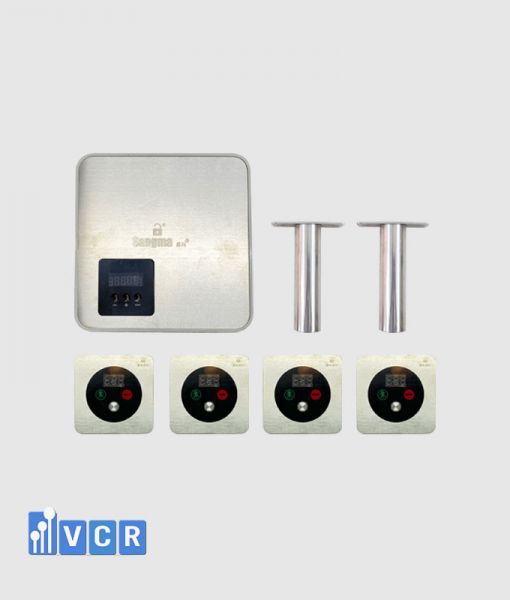
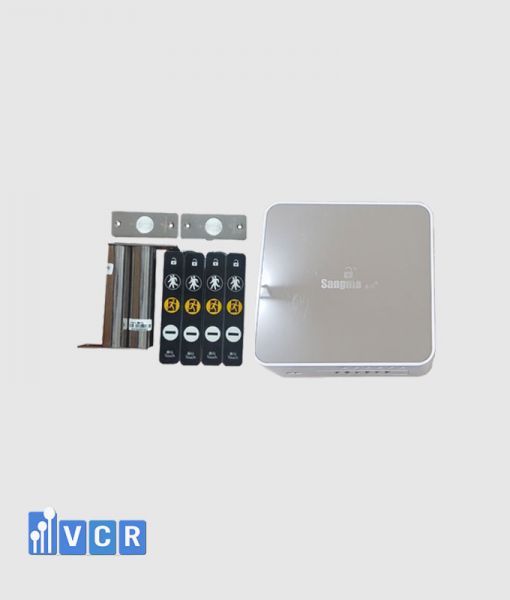
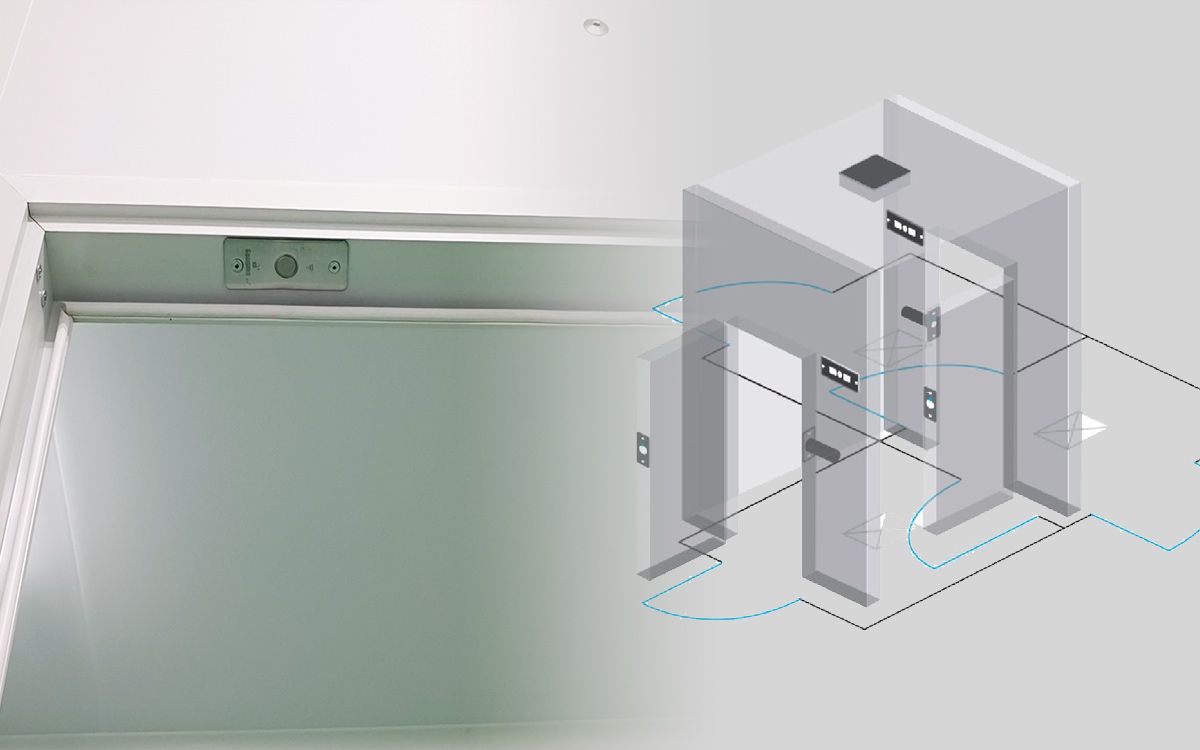
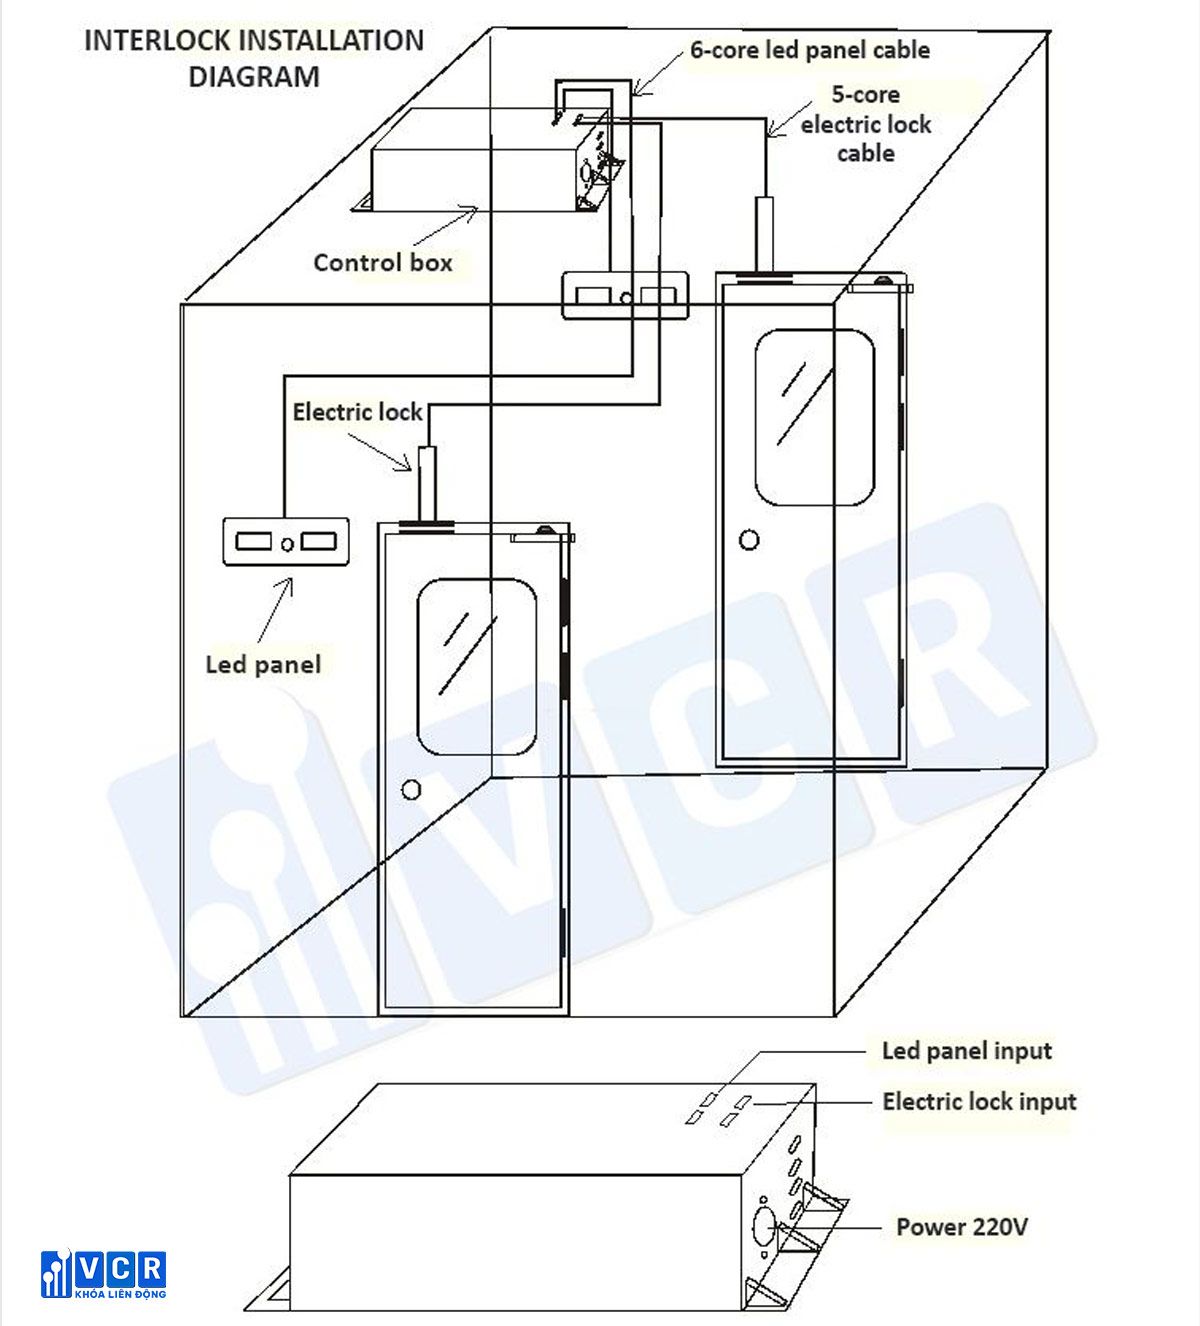
I. Cleanroom Interlock System Wiring Diagram
See more: Considerations Before Cleanroom Door Interlock Installation
II. Cleanroom Interlock System Installation
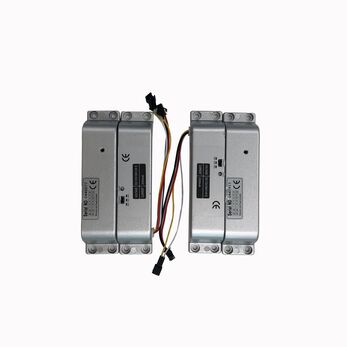
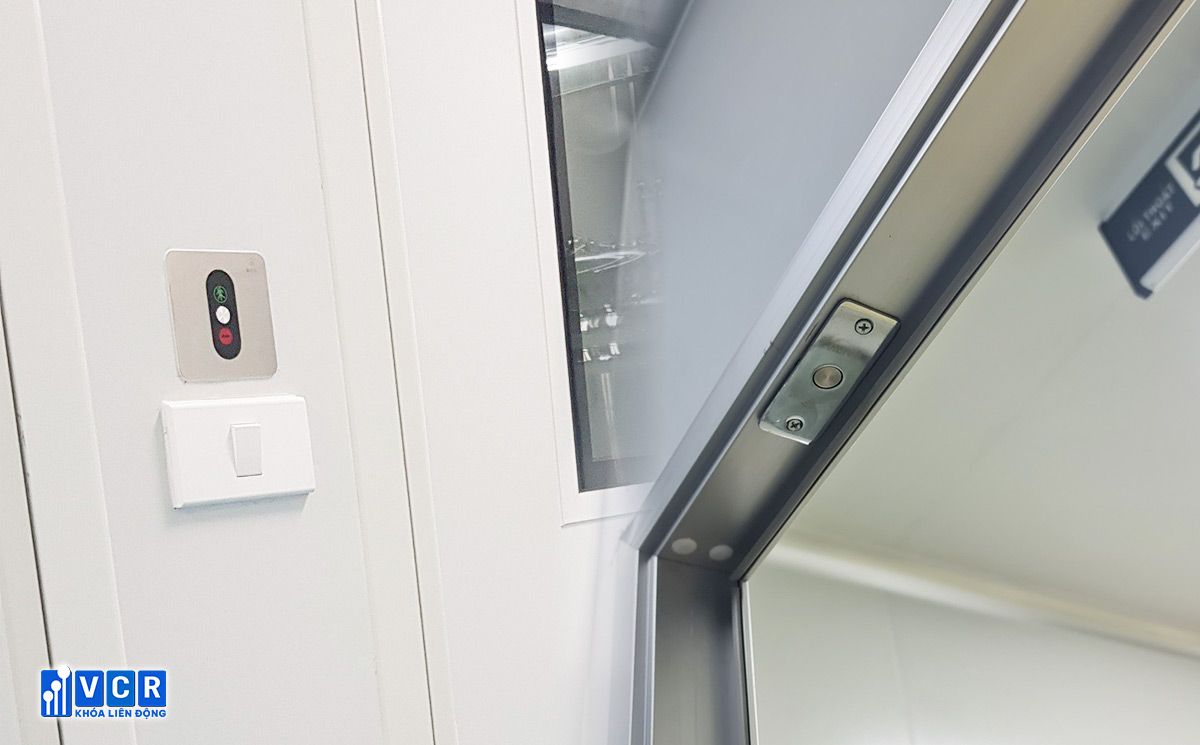
1. Electric Lock Installation:
- Step 1: Drill a 32mm diameter round hole in the door frame, aligning it with the designated "electric control lock installation hole."
- Step 2: Route the electric lock cable through the hole, ensuring proper alignment with the designated slot.
- Step 3: Insert the electric lock into the prepared hole, ensuring a secure fit.
- Step 4: Drill two additional 4.2mm round holes for secure mounting and use 4 x 10mm cored aluminum rivets to fix the lock in place.
See more: Different Categories Of Cleanroom Interlock
2. Lock Sheet Installation:
- Step 1: With the electric lock installed, determine the corresponding position for the lock sheet on the door.
- Step 2: Drill a 32mm diameter round hole in the designated location on the door, ensuring alignment with the electric lock but offset by 10mm towards one side (not centered on the lock plate).
- Step 3: Carefully insert the lock sheet into the prepared hole on the door.
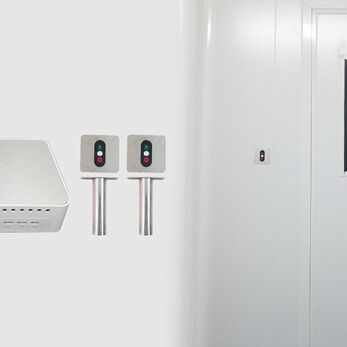
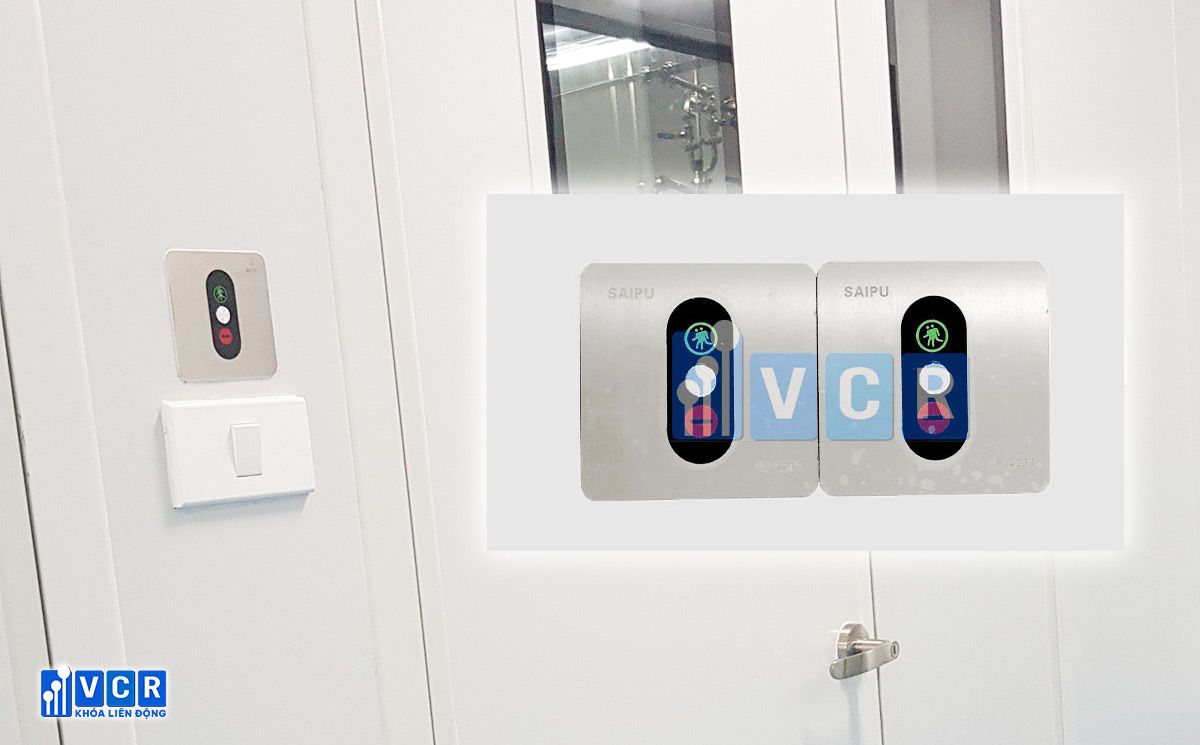
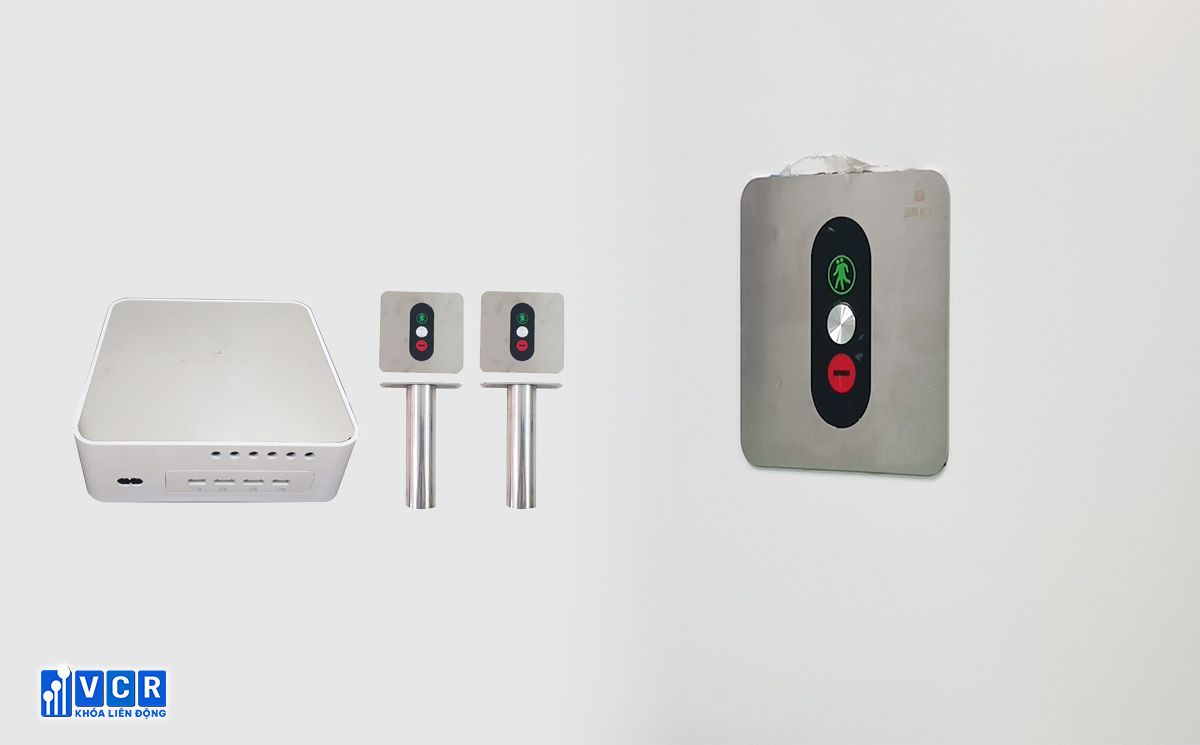
3. LED Panel Installation:
- Step 1: Select a conspicuous location (either on the side or within the user's line of sight) for the LED panel.
- Step 2: Drill a rectangular hole measuring 130mm x 50mm at the chosen location.
- Step 3: The LED panel typically features two ports designed for interlocking connection. Simply connect these ports accordingly.
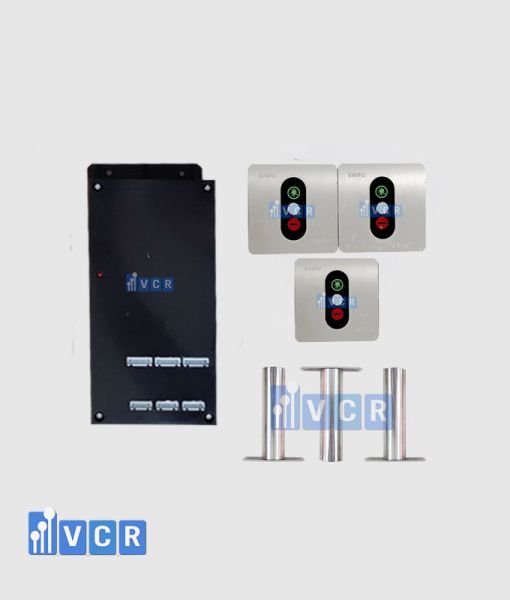
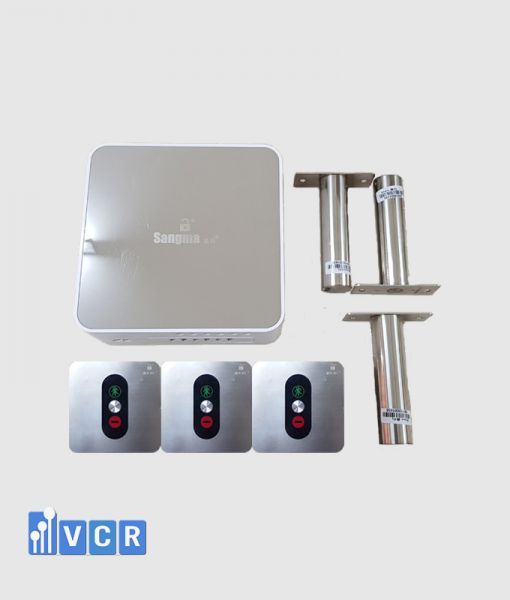
See more interlock from VCR
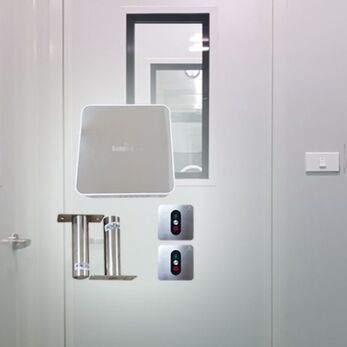
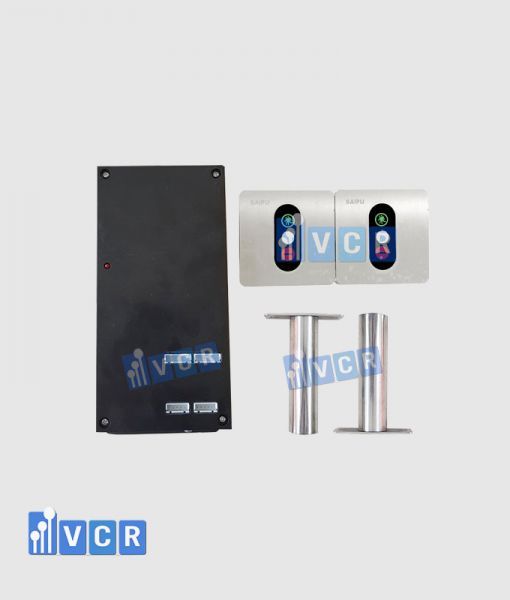
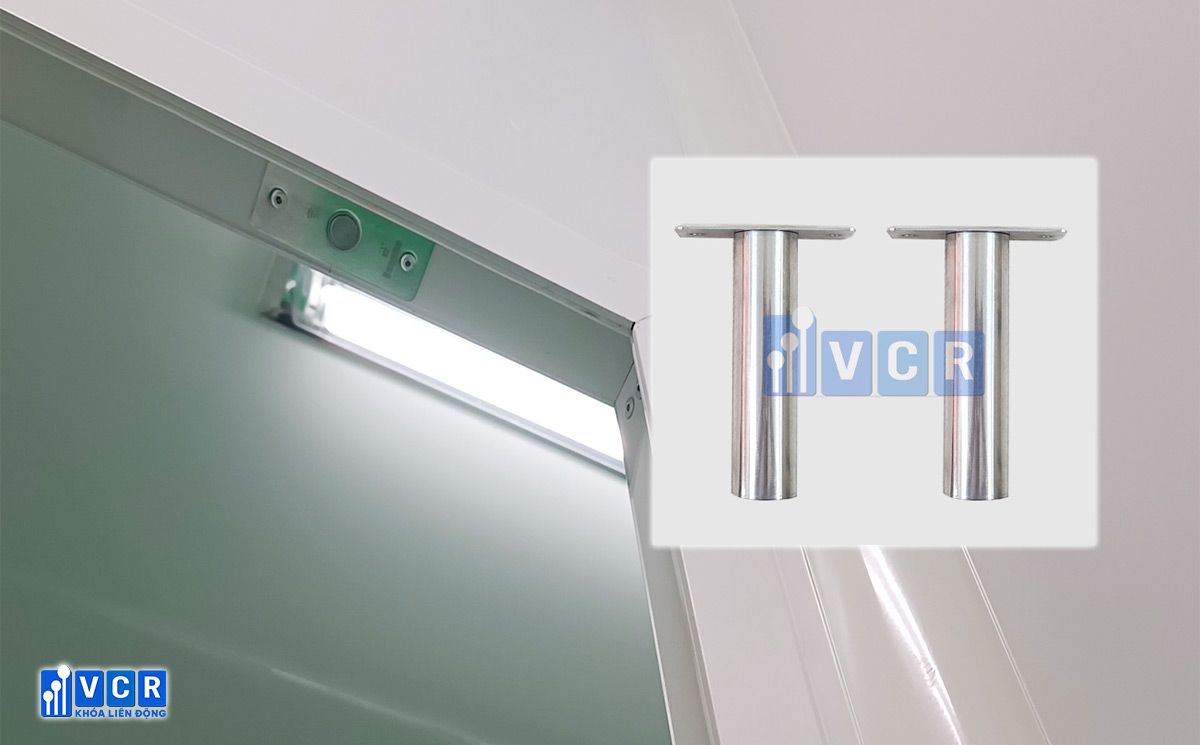
4. Control Box Installation:
- Step 1: Securely mount the control box on the upper portion of the cleanroom.
- Step 2: Utilize the provided cables to connect the control box to both the electric lock and the LED panel.
- Step 3: Once all connections are established, connect the system to a 220V power source for operation.
III. Installing a Cleanroom Interlock System: A Step-by-Step Guide
Maintaining a controlled environment in cleanrooms is crucial, and cleanroom door interlock systems play a vital role in this process. Here's a comprehensive guide to installing one:
Step 1. Planning and Measurement:
Calculate placement: Before drilling, meticulously determine the optimal positions for both the electric locks on the door frame and the LED panels on the walls. Ensure they are conveniently placed for user interaction and visual confirmation of door status.
Step 2. Electric Lock Installation:
- Drill the door frame: Create a hole approximately 150mm from the edge of the door frame using the designated size for the electric lock.
- Insert and connect the lock: Insert the electric lock into the prepared hole and connect it to the signal cable.
- Drill the door: On the door itself, drill another hole at the designated location to accommodate the lock sheet.
Step 3. Lock Sheet Installation:
Align and attach: Ensure the lock sheet aligns precisely with the electric lock on the door frame. Secure the lock sheet firmly onto the door.
Step 4. LED Panel Installation:
- Position and drill: Select a suitable location next to the door frame and drill a hole to accommodate the LED panel.
- Connect the panel: Connect the LED panel to the signal cable.
Step 5. Repeating the Process:
Multi-door setup: If installing on multiple doors, meticulously repeat steps 2-4 for each additional door.
Step 6. Control Box Connection:
Cable connection: Once all components are installed, carefully connect the signal cables and the power cord to the control box, following the manufacturer's instructions.
Step 7. System Activation and Testing:
- Power up: Connect the system to a power source and turn it on.
- Testing: Conduct a thorough test of the interlock system to verify its proper operation. Ensure doors lock and unlock sequentially as designed, and LED panels accurately display door status.
See more: What is Cleanroom Airlock
IV. Essential Installation Precautions
- Door handle compatibility: Ensure the interlock system is used in conjunction with compatible door handles or panel door locks.
- Hinge reinforcement: To prevent door sagging and potential misalignment with the lock, it is recommended to install three hinges for additional support.
- Door gap adjustment: If the door exhibits a large gap, utilize a gasket to adjust the space between the lock and the lock sheet, ensuring proper contact.
- Lock alignment: Meticulously align the lock sheet with the electric lock, ensuring the transmitting and receiving areas are positioned on the same side.
- Cable connection: Pay close attention to the correct direction when inserting cables into the lock and the control box.
See more: Clean Room Interlock System User Manual
V. Addressing Common Cleanroom Interlock System Issues: A Troubleshooting Guide
Following installation, your cleanroom interlock system may encounter occasional issues. Here's a guide to help you troubleshoot some common problems:
1. System Not Working with Buzzer Alarm:
Possible Causes:
- Misaligned lock and lock sheet (impeding magnetic detection).
- Faulty wiring between locks and the control box.
Solutions:
- Ensure proper alignment of the lock and lock sheet.
- Inspect wires for damage or breakage and repair as needed.
2. Lock Makes Noise but Fails to Lock the Door:
Possible Cause: Misalignment between the lock-tongue and the hole on the lock sheet.
Solution: Adjust the lock plate on the door to ensure the lock-tongue enters the lock sheet securely, allowing the door to close and lock.
3. Buzzer Alarms with Repeated Lock Open/Close Cycles:
Possible Cause: Faulty signal from the emergency button.
Solutions:
- Check all emergency buttons on LED panels for obstructions preventing them from resetting.
- If buttons are clear, try restarting the system.
- In case of persistent issues, inspect wiring between LED panels and the control box for damage.
4. Lock Tongue Enters Lock Sheet but Door Won't Open:
Possible Cause: Door sagging or misalignment.
Solution: Adjust the door to ensure proper alignment and clearance for the lock tongue to retract smoothly.
Remember: If these troubleshooting steps fail to resolve the issue, consult a qualified technician for further assistance.
Conclusion:
By following these comprehensive instructions and adhering to the essential precautions, individuals can successfully install a cleanroom interlock system, contributing to the maintenance of a sterile and controlled environment within their cleanroom facility.